Expose to the Right, or ETTR, is a term used in digital photography that suggests that your histogram should be skewed to the right to capture the most information possible.
Here are the general principles:
Think of a picture as a bucket of rocks. Your goal is to fill the bucket with as many rocks as possible. More rocks are better than fewer rocks. Light colored rocks are small and dark colored rocks are pretty big. If you take a dark picture, you can only put in a few dark rocks. If you take a light picture, you can put in whole bunch of light rocks. When you have a lot of rocks, your image processing software has more to play with.
What does this mean? When you have too few big rocks, like in that dark image, you just don’t have a enough information for the post-processing software to use. This can result in noise and artifacts — those pink and blue blotches that can show up in the shadows when you look very closely at an underexposed image. This happens when you take an underexposed image and try to increase the exposure to a “normal” level. Since you only have a few rocks to play with, the image processing software doesn’t know how to interpret the pixels. When you have a bucket full of small rocks, you have plenty of information to use in post processing, resulting in larger file sizes, and more importantly, less noise and fewer artifacts in the shadow areas.
In action:
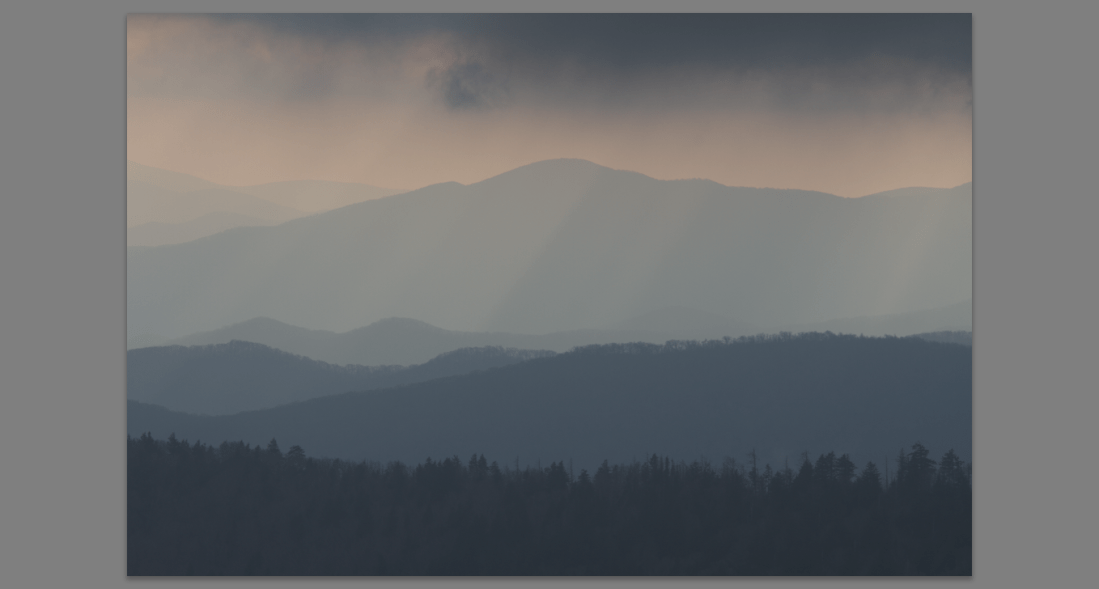
I recently visited Great Smoky Mountain National Park. I bracketed three shots. One with normal exposure, one -1 stop, and one +1 stop.
Let’s take a look at the histograms and the file sizes:

File size is 22,402 KB

Exposture -1 stop. File size is 21,443 KB

Exposure +1 stop. File size is 23,400 KB
As you can see, the picture that is Exposed to the Right is a bigger file. Now let’s look at the pictures:

This is the picture exposed -1 stop.
Other than the dust spot on the sensor, the -1 Stop Exposure looks pretty good.
Using Lightroom, I took the +1 Stop picture and reduced the exposure by 2 stops to make it look just like the underexposed image:

Picture was exposed +1 stop and processed in Lightroom to -2 stops to match the underexposed picture.
(and I took out the dust spot, I couldn’t resist.)
They both look great. But let’s look at the shadow areas.
Below is a small section of the -1 stop exposure picture. Notice how grainy it looks?

Zooming in on shadow areas of the -1 stop picture.
Here is a similar section, same magnification, on the picture that was exposed +1, then adjusted in Lightroom to look like the underexposed image. Notice there is a lot less grain, noise, and fewer artifacts. The only adjustment made in Lightroom was exposure:

Zooming in on the +1 stop exposure picture
Getting a bit more technical:
Digital cameras capture information in a linear fashion. Your camera captures values from 0 (black) to 4096 (white) in 12 bit capture per color channel. Most digital cameras capture about six stops of tonal range. The brightest stop actually captures half of all the information available, or 2048 levels. The next stop down captures half of what is left, or 1024 levels. The next stop down again captures half of what remains, or 512 levels, and so on.
The below diagram shows how each stop captures tonal values:

Overexposing your image, without clipping highlights, will result in having the largest possible file to use when you develop your RAW image. The end result of practicing ETTR is more information, larger file sizes, and most importantly, reduced noise in shadow areas.
There are a lot of articles published on this technique, so I won’t go into all the technical details. Just do a search on “Expose to the Right” and you’ll find more information than you ever care to know.
A few things to keep in mind:
- This only works if you are shooting RAW. If you shoot JPEG, this will just result in overexposed images.
- You have to be committed to processing your images after you take them. If you just want to shoot and upload your images to flickr, Facebook, or whatever, then ETTR isn’t the right technique for you.
Test it out yourself:
- Take any picture with your normal exposure
- Take the exact same picture, but this time over expose by one stop
- Download both images into your computer and take a look at the file size. If you didn’t clip your highlights, you should notice that the brighter image is actually larger.
- Now process both images to look about the same. Zoom in on both and look at the shadow areas. You should notice there is less noise, and more quality detail in those shadows.

A great tip for shooting in a rainforest.
Well done Sandy. This is the best and simplest explanation of ETTR that I have seen. Do let folks know that at times +1 is not enough, especially with scenes that average to well lighter than a middle tone or close to white and especially so when it is cloudy, overcast, dawn, dusk, etc.
Arthur, that’s a great point. It’s not about being formulaic and always shooting +1. It’s about looking at the scene and choosing the best exposure to maximize your ability to make adjustments in post.